Two-factor authentication (2FA), also called Multi-factor authentication (MFA), is simply an extra layer of security for your online accounts, such as Facebook.
With 2FA, not only will your password protect your account but if that fails, 2FA is the backup layer to protect you.
Once the password is entered correctly, you will be brought to the next screen which generally allows for a text or email to be sent to a specified phone number or email address that will have a pin that needs to be entered to grant access to the account.
This process can be done for all your online accounts, including in your personal and business accounts.
Here’s how to setup 2FA for your Facebook account:
On your smartphone, in the Play Store or App Store search and download the Microsoft Authenticator App (if you don’t already have this installed).

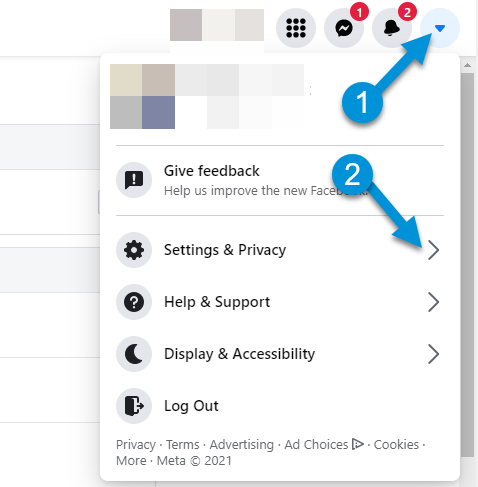
Then Login to Facebook on a laptop/ PC. Select the dropdown menu in the top right-hand corner (see below):
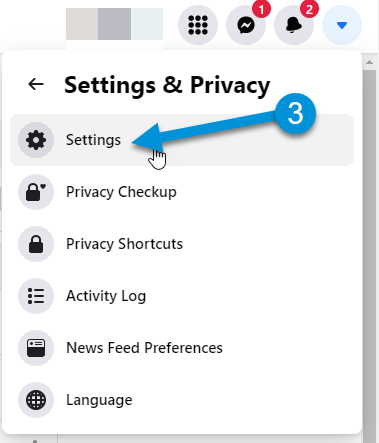
Select Settings
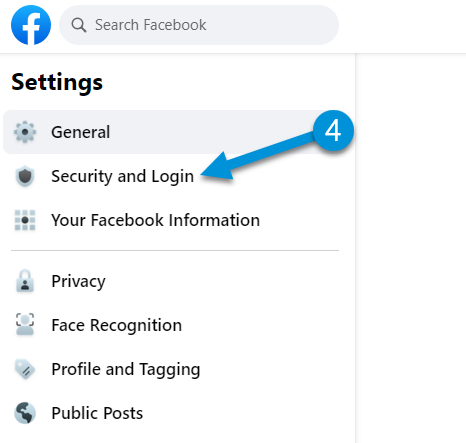
In the top left-hand corner select Security and Login:
Scroll down and select use two-factor authentication:
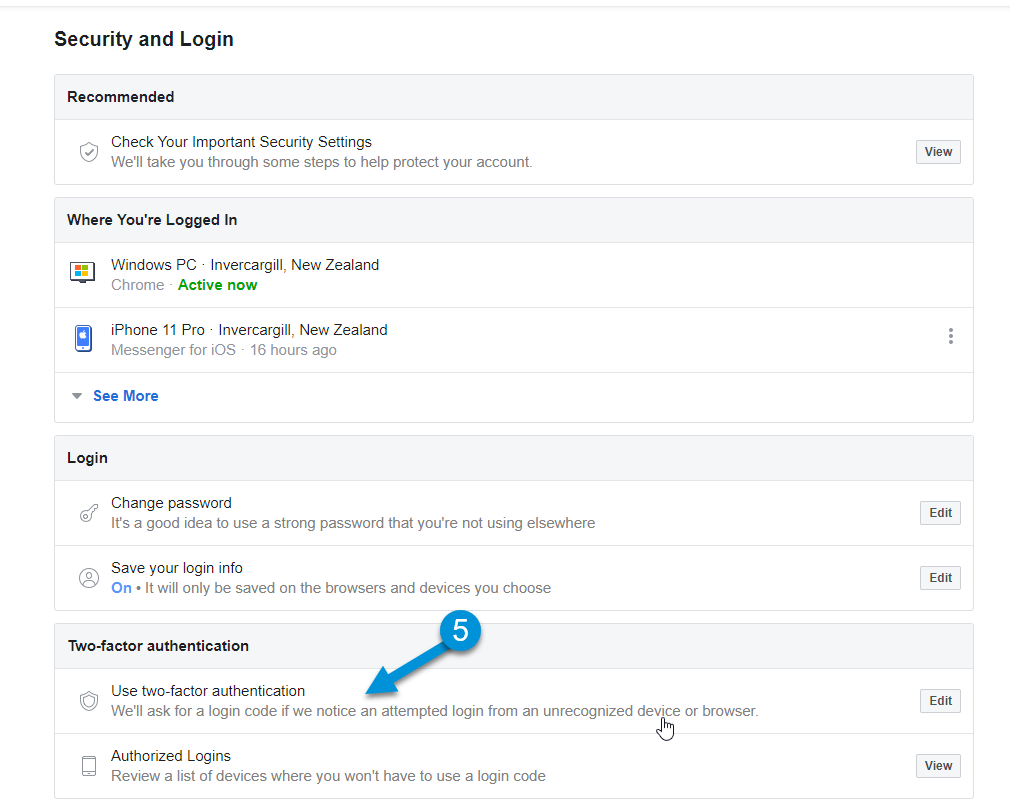
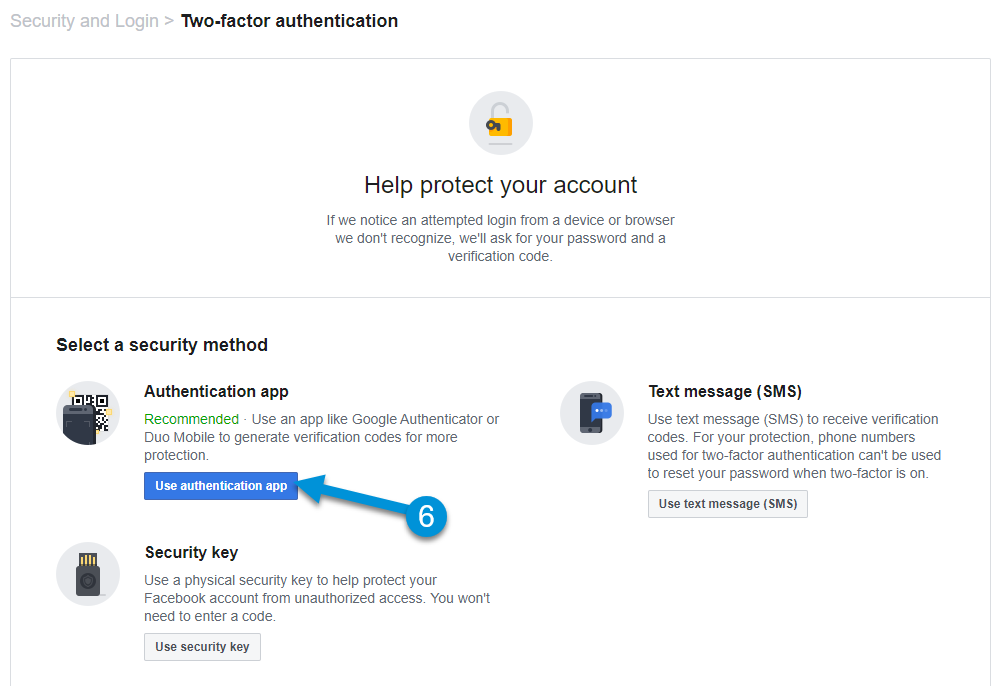
Select User authentication app:
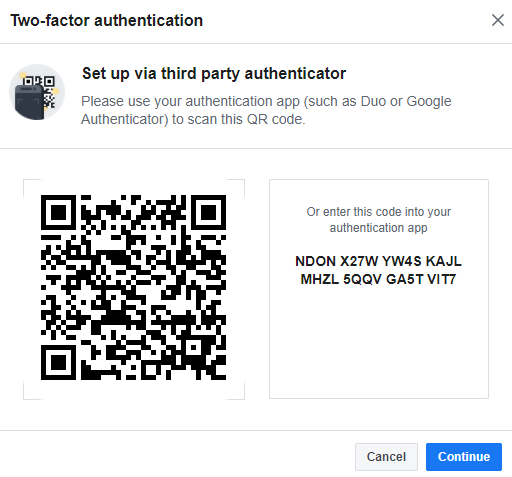
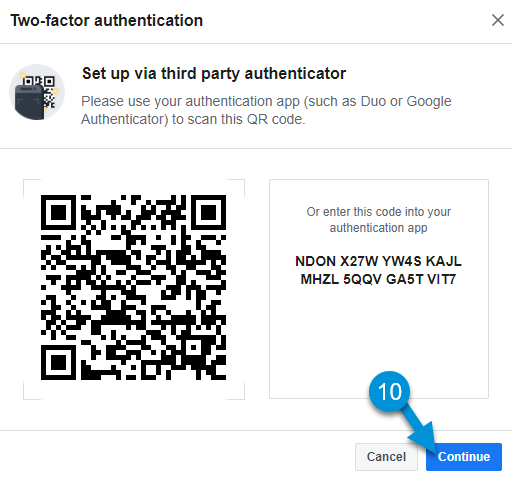
This will pop a QR code for you to scan in your Authenticator app (see below):
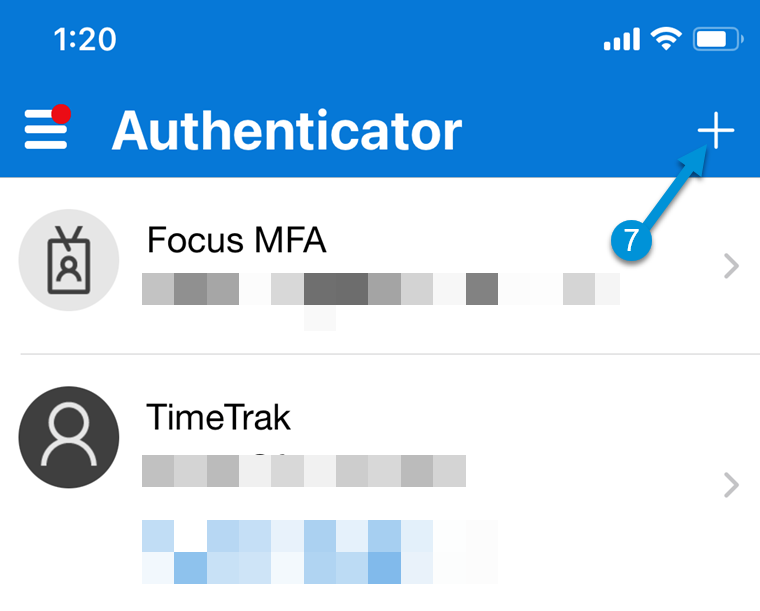
On your smartphone, open the Microsoft Authenticator App, click the + icon in the top right-hand corner, as per below:
Select Other, as per below:
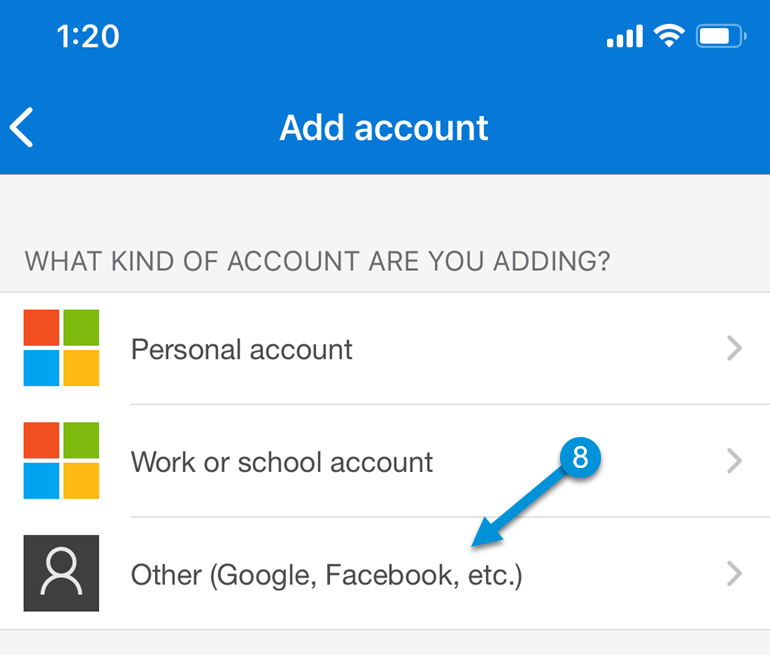
9. The camera will display on screen, point your phone at the QR code on your computer to scan.
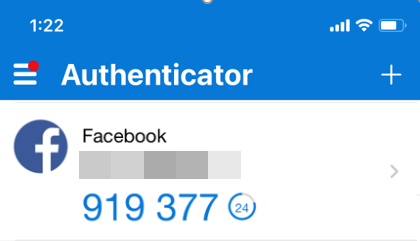
You will see a Facebook icon with a number that changes every 30 seconds display within the Authenticator App on your phone, as per below:
Select Continue on screen:
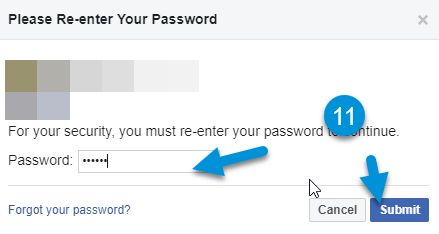
You will then be prompted to re-enter your Facebook password before clicking Submit.
You will be prompted to enter the code from the App, enter this and click Continue.
Note: Remember this number changes every 30 seconds so if it only has a couple of seconds to go wait for the next number before typing.
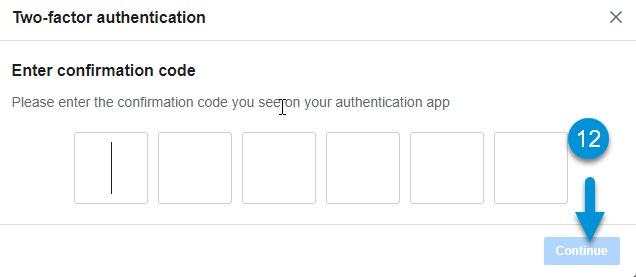
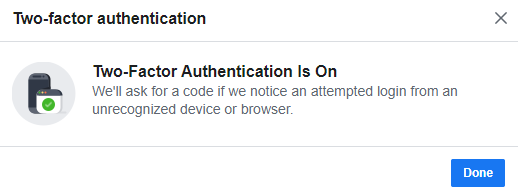
You will then get a confirmation message (as per below) advising you have been authenticated.
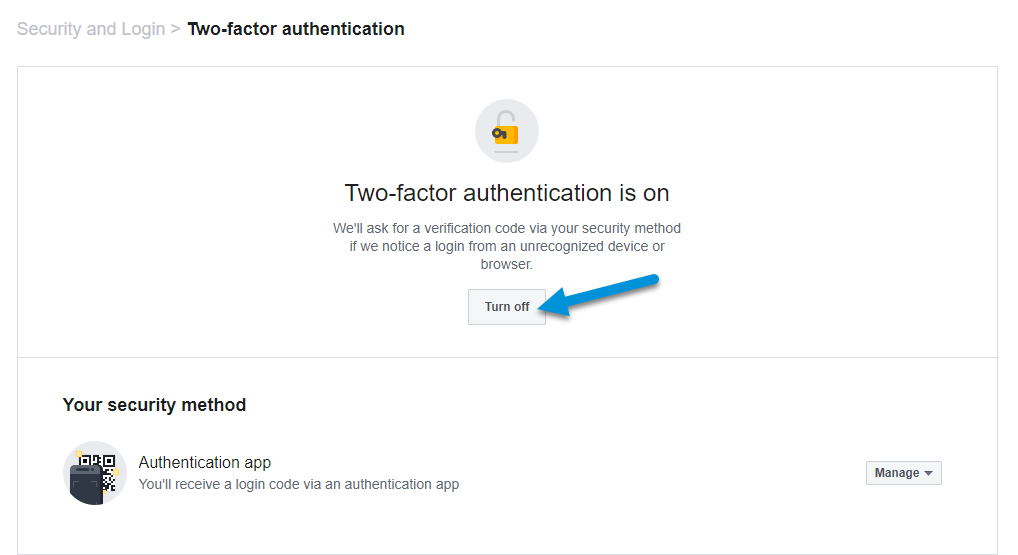
Should you wish to disable this at a later date complete steps 1 – 5 then click turn off, as per below:
